
The patio was looking pretty dull compared to what it was just two years ago.

And it was starting to show wear from the harsh winters (even though we don't salt).

We don't know when it was sealed last, so we knew this needed to be one project to get done before another winter comes around. And Winter is always just around the corner.
After doing some research on how to seal a concrete patio we felt comfortable taking on this task ourselves. We wanted to save the dough doing it ourselves and also learn how since we will probably be doing this again in the future.
We picked up a few things from Home Depot that we would need for the job:
- Long handled scrub brush ($9.98)
- Deck and Concrete Cleaner ($11.99)
- Concrete Sealer ($26.98)
There were a few items we already had on hand that would help as well:
- Garden sprayer
- Garden hose
- Paint roller with long handle
- Paint brush
- Paint tray
We checked the weather to make sure there was no rain in the forecast and then got to work.
First, we cleared off the patio using a broom and leaf blower. Any dirt, leaf or grass would be sealed to the concrete so we made sure it was as clean as possible.

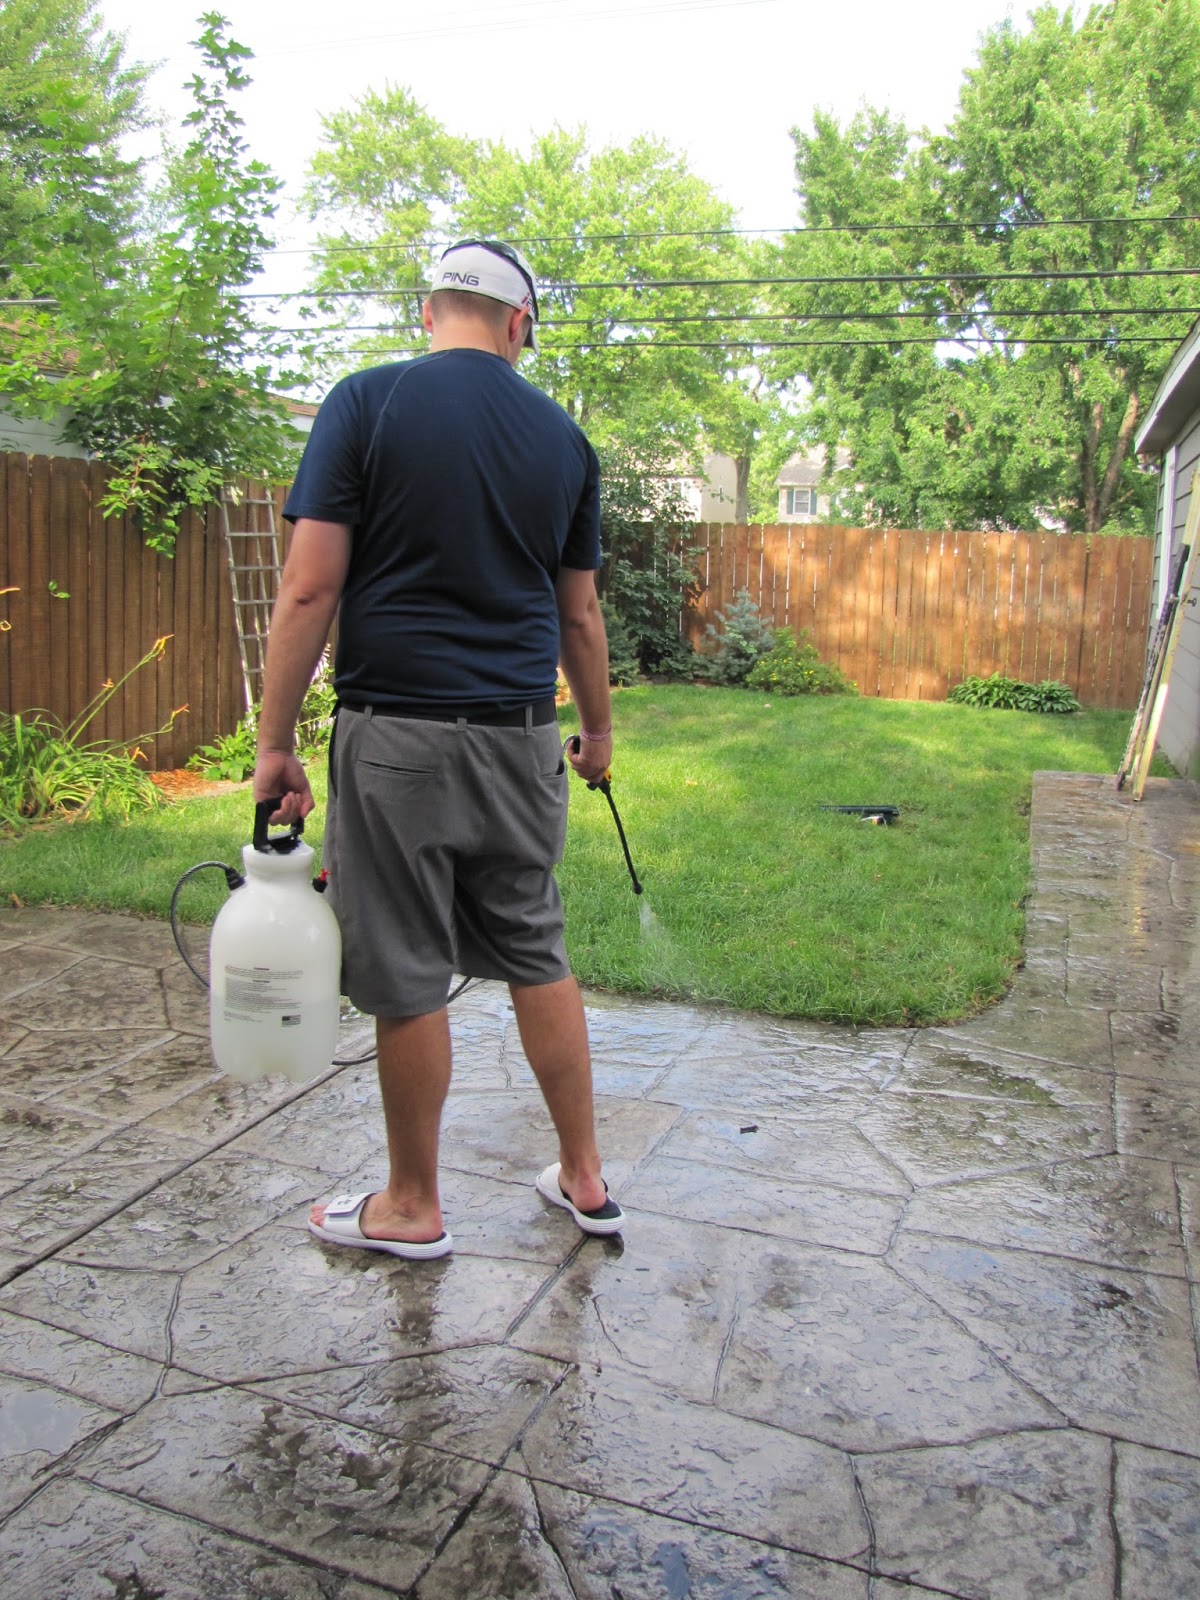
Next, we added the concrete cleaning solution to the garden sprayer. We did not dilute the solution.

Justin used the entire bottle of solution spraying on the full-strength. We then let it sit for 5 minutes.

Then I used the scrubber to loosen up the dirt and scrub away those set it stains (like where the flower pots were sitting).

We rinsed the solution and dirt off and let the patio dry for a few hours. 
Then gave it another once over with the leaf blower to clear off any loose dirt and leaves that fell. Thankfully it wasn't a windy day so it wasn't too much work to keep the patio free of debris.
Applying the cleaning solution and scrubbing the patio made a great difference to the appearance. Now it was ready to be sealed.

We rocked the bottle of sealant to mix the solution (not shaking - which could've given us bubbles!) and poured it slowly into the paint tray. The sealant is rated to cover 450 square feet of concrete. That should be enough to add two coats to our patio.

We unscrewed the long handle from the scrubber and added it to the paint roller to make rolling on the sealant much easier while standing.

I started to cut in around the border first, just like one might cut in around the corners and trim of a wall. This would give Justin less of a chance of picking up debris or painting sealant onto something that shouldn't be sealed while using the paint roller.

We also started in the far corner and worked our way to the driveway so we didn't get stuck in a corner that we couldn't get out of. I also (thought) I had left the front door unlocked so we could step inside while the patio dried. Apparently, someone came by our house and locked the front door while we were working in the backyard. At least that's the only thing that could've happened since I know I left the door unlocked.

Instead, we decided to watch the sealant dry. At least long enough until I could carefully cross the newly sealed patio to sneak in the back door. And then unlock the front door for Justin.
We let the first coat dry for a few hours then applied a second coat. The second (and final) coat went on much faster (30 min. as compared to 1 hour with the first coat).

24 hours, and one very unexpected rain storm, later, we let the pups break in the newly sealed patio.

I feel much better than the patio will be protected against the elements. Not to mention, it looks 100% better with a new face!

Okay, it looks better when you see it in person. The camera doesn't provide much of a dramatic before and after. And for less than $50 and one day of work, we have protected the patio for another 4 years.
Woohoo! One more outdoor project done. Bring on winter!
Mary

No comments :
Post a Comment